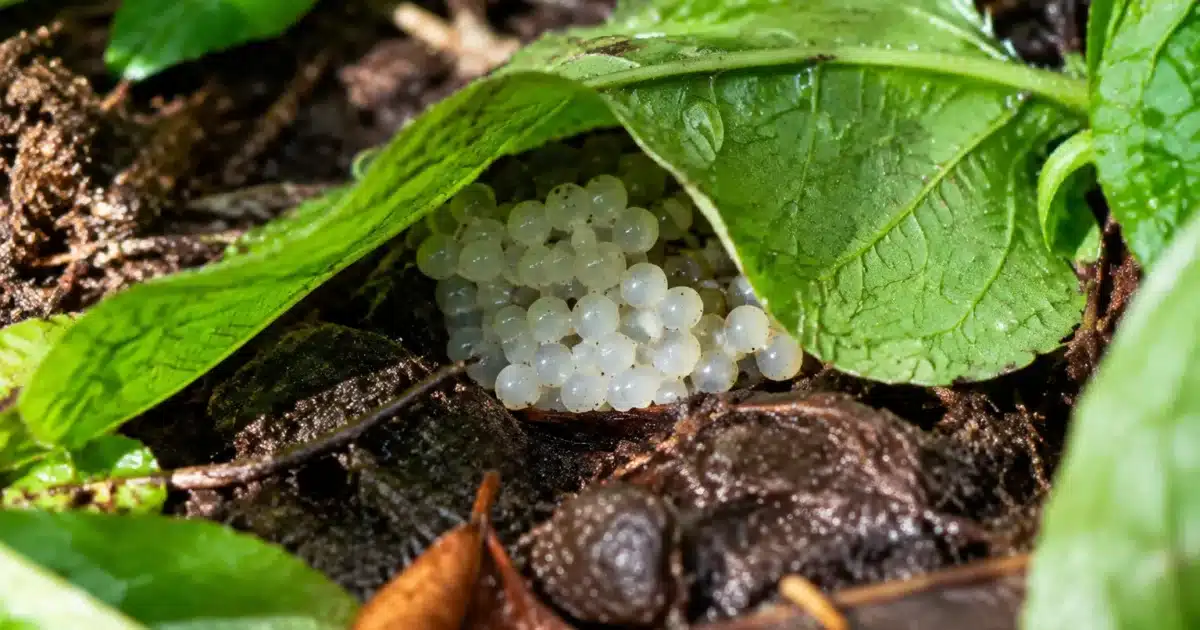
Beneath your flower pots, in the pile of dead leaves, nestled in the mulch: slugs have already laid their eggs. Those tiny translucent balls you might mistake for hydrating gel beads are actually a time bomb for your plants. Before spring warms the soil, there’s a short window to take action.
The answer is simple: slug eggs hide in all the dark, damp, and protected spots in your garden, especially under plant debris, in pots and planters, beneath mulch, and in soil cracks. A single clutch can contain several dozen eggs, and the rapid multiplication of these pests when they hatch explains why so many gardeners find themselves overwhelmed within weeks.
What do slug eggs look like and how to identify them in the garden
Recognizing slug eggs avoids confusion with other invertebrate clutches. They appear as small gelatinous clusters, round or slightly oval, ranging from milky white to a translucent color reminiscent of tapioca pearls. Their diameter rarely exceeds a few millimeters, and they’re grouped in compact clusters of 20 to 50 units.
To the touch, these eggs are soft and fragile, often stuck together by a viscous substance that keeps them bonded. A slug nest is spotted mainly by its immediate environment: fresh, undisturbed soil, sheltered from direct light. If you lift a stone or pot and discover these clusters, there’s a good chance you’ve found a clutch ready to hatch with the first warm days.
Where slug eggs hide: priority zones to inspect
The garden is full of welcoming corners for egg-laying. Slugs systematically search for darkness and moisture, two conditions found in many places we rarely inspect.
Beneath ground shelters and garden debris
Piles of dead leaves, decomposing logs, flat stones, and forgotten planks on the ground form perfect shelters. It’s under this debris that females most often deposit their eggs, protected from predators and temperature fluctuations. A simple rake through these areas often reveals several nests in a single outing.
In pots, planters, and confined spaces
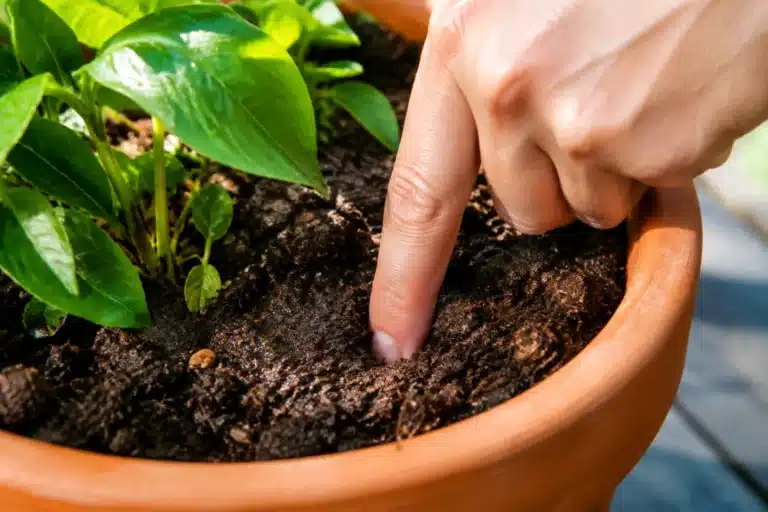
The underside of pots and planters is a particularly favored hiding spot, especially when containers rest directly on soil. The moisture trapped under the pot, combined with total darkness, recreates ideal conditions for undisturbed egg-laying. Simply lifting each container in your vegetable garden or on the terrace reveals eggs stuck to the bottom or in surrounding soil.
Beneath mulch and in soil cracks
Mulch, whether organic or mineral (including these garden waste materials used as homemade mulch), protects young plants from drying out but also offers a prime refuge for adult slugs coming to lay eggs. Beneath a thick layer of straw or bark, temperature remains stable and humidity constant. Soil cracks, more discreet, play the same role: they channel water and create pockets of shade where eggs develop peacefully until hatching.
Never kill
another plant.
Take a photo: the app names the species, spots the problem and tells you exactly what to do.
Damp zones to monitor closely
Around a watering can left on the ground, at the base of a dripping faucet, or along shaded edges of a freshly mowed lawn are all damp zones where egg-laying concentrates. A simple regular check of these spots is enough to prevent surprises.
Why act quickly upon discovering eggs
Late winter marks the critical moment. Rising temperatures progressively trigger hatching, and each egg gives birth to a young slug capable itself of laying eggs within weeks. This rapid multiplication transforms a single neglected clutch into a genuine invasion in spring, the season when young vegetable garden plants are most vulnerable.
Tap to scan your plant
This feature requires the Plantalya app. Scan any plant instantly with your camera!
Acting before hatching is the only time intervention remains truly effective. Once slugs emerge from eggs, they scatter throughout the garden and become far harder to spot and control than a stationary egg cluster.
How to eliminate slug eggs without chemicals
Manual removal remains the most reliable and environmentally respectful method for your garden, much like this old-fashioned remedy against vegetable garden slugs. Here are the steps that make a real difference when you discover a clutch:
- Remove eggs by hand wearing gloves and place them in a bucket of soapy water to prevent any hatching.
- Lightly turn the soil around the discovery to expose remaining eggs to birds and predatory insects.
- Avoid crushing clusters directly in place, which can leave attractive traces for other slugs.
- Repeat inspection every 10 to 15 days during late winter, the season of most active egg-laying.
Natural predators also play a valuable role in this informal collection. Hedgehogs, ground beetles, birds, and certain beetle species readily feed on slug eggs when they have access to them, making it all the more useful to avoid that evening habit that drives hedgehogs away from the garden. Encouraging their presence, by leaving a corner of the garden somewhat wild for example, usefully complements manual removal without resorting to pesticides.
Never kill
another plant.
Take a photo: the app names the species, spots the problem and tells you exactly what to do.
Reduce hiding spots to limit future egg-laying
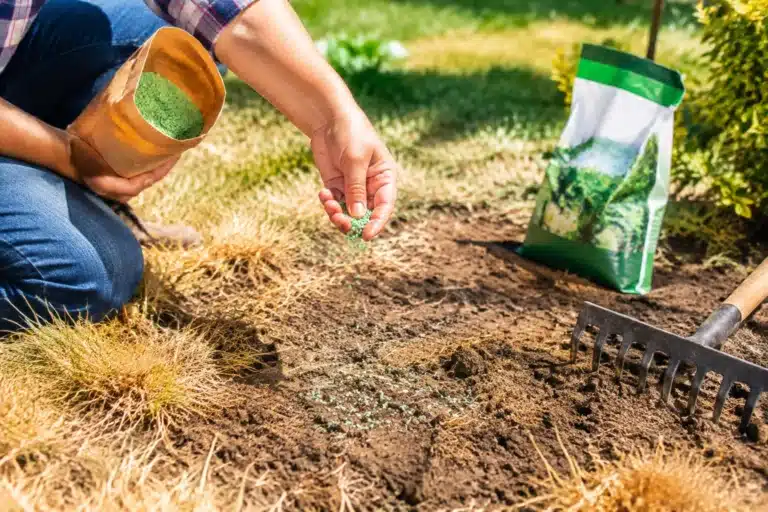
Prevention above all passes through managing available shelters. Spacing mulch slightly around sensitive crops, raising pots on blocks, and regularly removing decomposing plant debris mechanically reduce accessible egg-laying sites.
Morning watering rather than evening also limits nighttime humidity, the moment when slugs are most active for reproduction. These simple adjustments, repeated each season, gradually dry out the conditions favorable to their permanent establishment in the garden.