You feel a draft near your window but can’t figure out where it’s coming from? There’s a simple test that takes less than a minute to determine whether the seal is the culprit. No tools needed, no expert required: a sheet of paper is all you need.
The Paper Sheet Test: Express Diagnosis in 30 Seconds
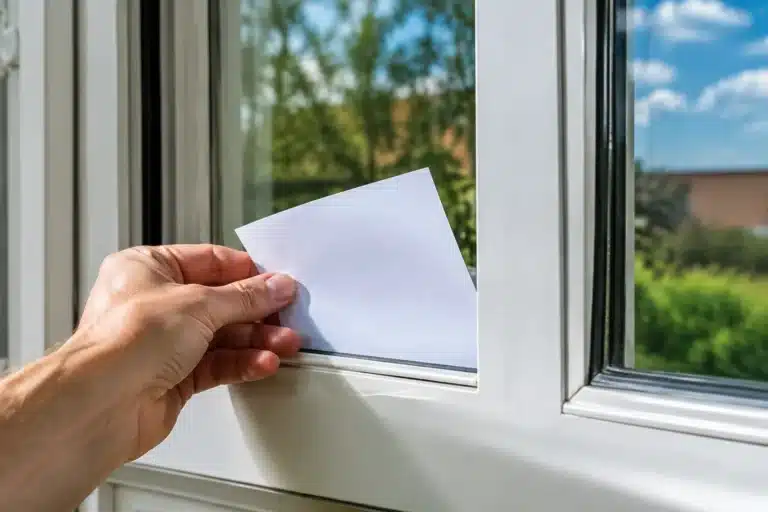
The principle is straightforward. A window seal in good condition should compress enough to hold a thin object trapped between the sash and frame. If the seal is crushed, hardened, or peeling away, the object slides without resistance. This is exactly what the paper sheet test allows you to verify in seconds, with no special equipment.
How to Perform the Test Step by Step
Take an ordinary sheet of paper, standard A4 size works fine. Open the window slightly, place the sheet between the sash and frame at the point where the seal should make contact, then close the window normally without forcing it. Gently pull the sheet out. Repeat the operation at several points around the perimeter—top, bottom, and sides—because a seal can fail in one area and remain intact elsewhere.
Interpreting the Result: Paper That Slides Means a Failing Seal
If the sheet stays trapped and you need to pull with some force to remove it, the seal’s compression is working correctly. If the sheet slides without any resistance or falls out almost on its own, the seal is no longer closing properly at that specific spot. This is a sign of a failing seal that lets air and moisture pass through even when the window appears to be fully closed.
The Important Distinction
This test reveals a compression problem, but not necessarily its cause. A new seal can also fail to grip if the window is misaligned and the sash no longer presses firmly enough against the seal. Always check the hinges and strike plate before replacing the seal.
Other Signs That a Window Seal Is No Longer Closing Properly
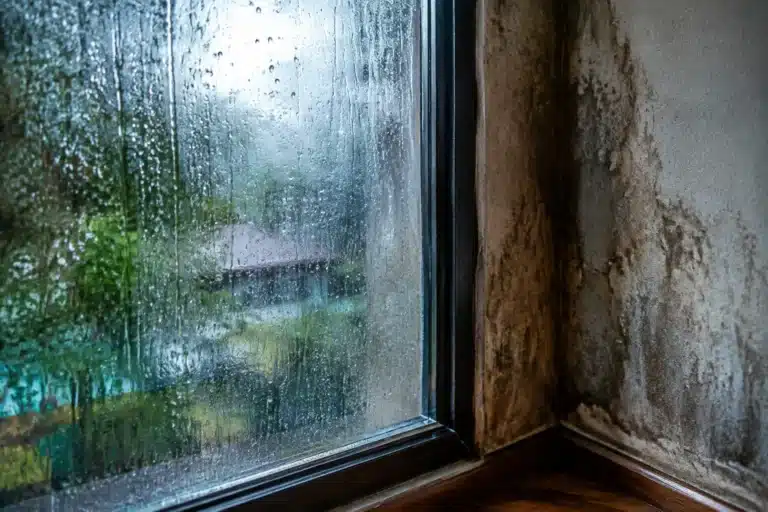
The paper test isn’t the only clue. Drafts around windows felt even on calm days, a heating bill that climbs without apparent reason, or window condensation that regularly appears on the lower glass are all signals that often accompany a worn seal and are among the mistakes that let moisture enter the home at the first rain. Outside noise infiltrating more than before, or a localized cold sensation near the frame, complete the picture. If you run your hand along the seal and it feels hard, cracked, or slightly peeling away from the profile, deterioration is already well underway.
Why Window Seals Eventually Fail
Never kill
another plant.
Take a photo: the app names the species, spots the problem and tells you exactly what to do.
A window seal, whether it’s an EPDM seal or adhesive foam seal, works continuously under the stress of repeated openings and closings. Over time, the rubber loses its elasticity, compresses, and no longer returns to its original shape. Exposure to sunlight, temperature fluctuations, and pollution accelerate this aging, as does overly aggressive cleaning with solvent products. On average, a seal lasts between eight and fifteen years depending on the material quality and the window’s exposure, which explains why the oldest windows in a home are often the first to be affected.
What to Do After the Test: 3 Solutions Based on Your Diagnosis
Once the diagnosis is made, the solution depends on what the test actually reveals. Three scenarios typically emerge, and it’s best to address them in order to avoid replacing a seal that didn’t need replacing.
Tap to scan your plant
This feature requires the Plantalya app. Scan any plant instantly with your camera!
Scan Your Plant — Download Free AppMaintain and Clean the Seal to Extend Its Lifespan
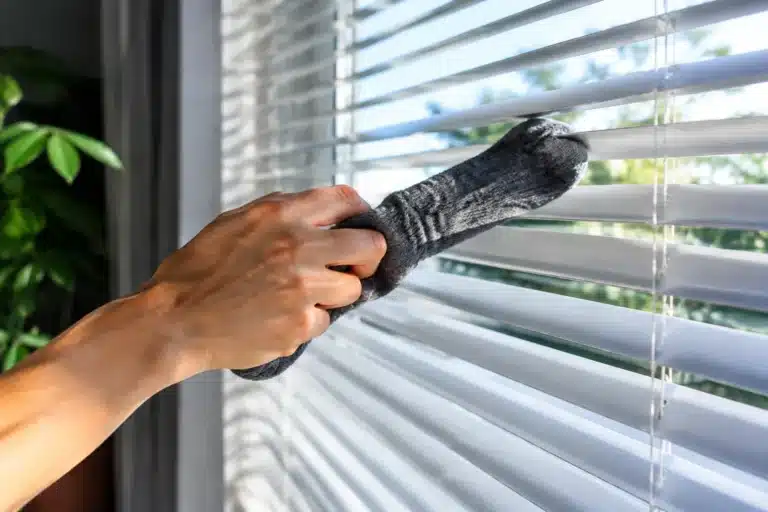
If the seal is still flexible but slightly dirty, cleaning with soapy water followed by applying a silicone lubricant designed for seals is often enough to restore good sealing. This simple seal maintenance, done once or twice a year, prevents many premature replacements and noticeably extends the rubber’s lifespan.
Replace the Seal Yourself: Quick Process
When the seal is visibly cracked, hardened, or no longer bounces back to shape, seal replacement becomes inevitable. You must first identify the exact profile, as different models aren’t interchangeable.
| Seal Type | Common Use |
|---|---|
| Strike Seal | Fixed on the frame, compressed by the sash when closing |
| Lip Seal | Rubs lightly against the frame, flexible, used on sliding windows |
| Groove Seal | Inserted into a groove in the profile, common on PVC windows |
Replacement involves removing the old seal by unclipping it from its groove or peeling it off its adhesive backing, then inserting the new profile by pushing gradually along its entire length without over-stretching the material. A utility knife allows you to trim the length at the corners. This window weatherstripping operation generally takes no more than twenty minutes per sash.
Never kill
another plant.
Take a photo: the app names the species, spots the problem and tells you exactly what to do.
Adjust the Hinges If the Seal Is Intact but the Window Rubs
If the seal appears to be in good condition but the test still reveals insufficient compression, the problem likely stems from poor hinge adjustment. The hinges on PVC and aluminum windows have adjustment screws that allow you to control the sash pressure against the frame, both vertically and in depth. A slight turn of the screw is often enough to restore an airtight seal without touching the seal itself. A misaligned strike plate produces the same effect and is corrected the same way, by loosening the plate slightly and repositioning it.
When the Problem Goes Beyond the Seal: Signs a Window Is Nearing the End
If after maintenance, seal replacement, and hinge adjustment the drafts persist, the issue may lie elsewhere. A warped frame, a double-pane seal that has failed, or a frame that has shifted with the building can explain window weathertightness that remains compromised despite everything (in some cases, the small drainage hole at the bottom of windows can also play a role in these moisture problems). In this case, overall window insulation is the issue and complete window replacement becomes the only lasting solution. Before reaching that point, however, it’s still worth checking each element one by one, as suggested by these 5 checks to perform while the heating is still off, because in most cases, the seal or adjustment alone are enough to solve the problem.