Your flowers are fading, your last vegetables are wasting away in the vegetable patch? Don’t throw anything away. This is exactly the moment when your garden offers you its seeds, free of charge, for next year. Here are the 8 easiest plants to harvest from, and the method to get their storage just right.
8 plants whose seeds are easy to harvest from your garden
Certain varieties lend themselves particularly well to seed self-production, because their seeds are large, visible, and easy to dry without any special equipment. Here are the ideal candidates to get started.
Vegetables: tomatoes, zucchini, beans, lettuce
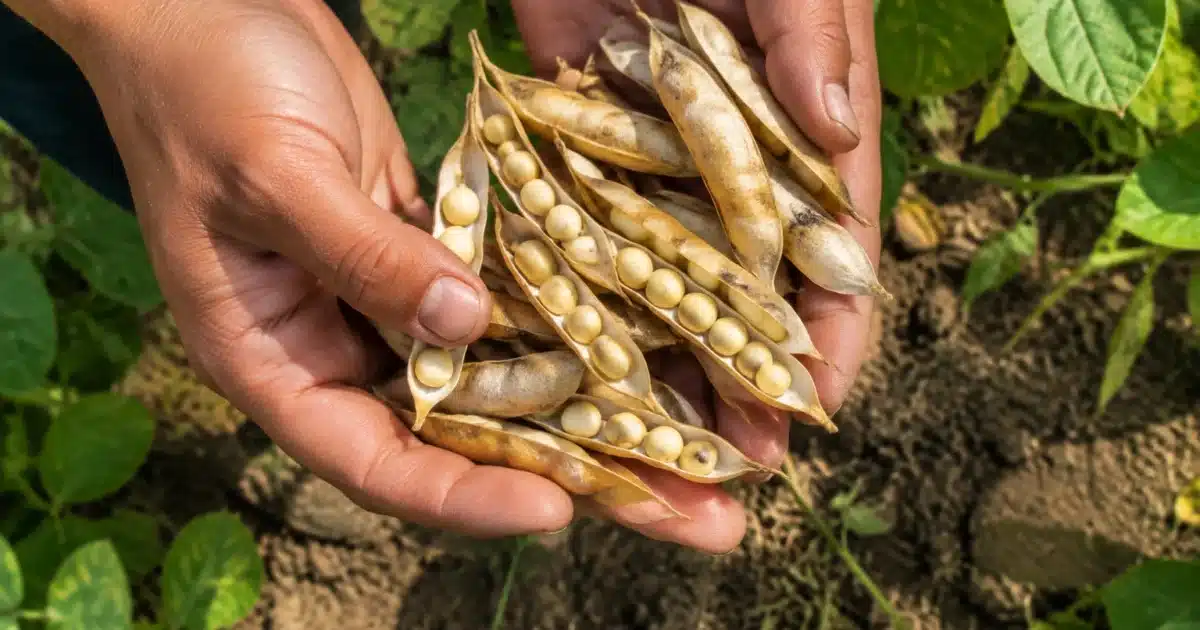
The tomato tops the list of vegetable garden classics. Simply choose a fully ripe fruit, extract the seeds with their gel, let them ferment for two or three days in a little water, then rinse and dry them on paper towels. The bean is even simpler: leave a few pods to dry directly on the plant until they turn brown and brittle, then harvest the seeds inside.
Zucchini requires a bit of patience, as you need to let one fruit grow well beyond the edible stage, until the skin hardens. You then open it to extract the seeds, which you wash before drying. Lettuce that has bolted produces small feathery tufts similar to dandelion seeds: when they open, the seeds are ripe and detach at the slightest touch.
Flowers: nasturtiums, cosmos, calendula, nigella
Faded flowers from late season are a treasure trove of free flower seeds, provided you don’t cut everything too early: discover exactly these faded flowers you should leave alone rather than deadhead. Nasturtiums form large round, wrinkled seeds that are easy to gather by hand once they turn brown and fall to the ground. Cosmos produces long, thin seeds that you harvest by rubbing the dried flower heads between your fingers.
Calendula forms crowns of curved seeds, claw-shaped, that detach easily once the flower is completely dried. Nigella offers swollen, ridged seed pods: when they turn brown and start to rattle, simply shake them over a pouch to collect an impressive amount of black seeds.
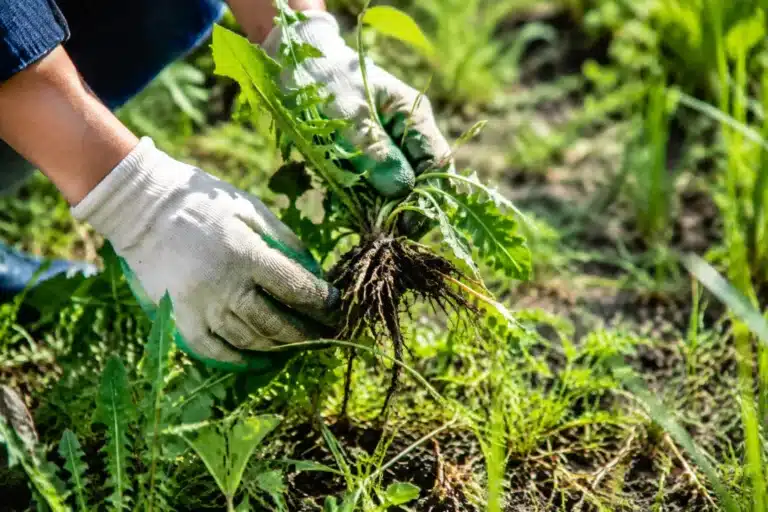
Harvesting too early is the most common mistake, just as you need to watch out for these weeds to remove before they release their seeds. A seed that is still green or soft hasn’t reached full maturity and loses all viability during drying. It’s better to wait until the plant itself shows the signs: brown color, brittle texture, seed pod opening on its own.
Never kill
another plant.
Take a photo: the app names the species, spots the problem and tells you exactly what to do.
When and how to harvest seeds from these plants
The right time is always recognized by visual clues rather than a date on the calendar. A dry pod, capsule, or flower head that has changed color and cracks under finger pressure signals a seed that has reached maturity. For faded flowers like cosmos or calendula, it’s best to wait until the color shifts completely from green to brown before cutting the stem.
Harvesting is ideally done in dry weather, late in the morning, once the dew has evaporated. A kraft paper pouch or small box is enough to transport seeds from the garden to your sorting table without damaging them. For plants with explosive seed pods like nigella or poppies, slip a pouch around the flower head before it opens to avoid losing half your harvest on the ground.
Clean, dry, and sort your collected seeds
Tap to scan your plant
This feature requires the Plantalya app. Scan any plant instantly with your camera!
Once harvested, seeds need to be cleared of plant debris: pieces of pod, dry petals, dust. A fine sieve or simply your fingers are enough to separate the essentials. For tomato seeds, fermentation in water removes the gel that naturally inhibits germination and makes sorting much easier.
Drying seeds is the step that determines their good storage. They should be spread in a thin layer on paper or cloth, in a dry, well-ventilated place away from direct light, for one to two weeks depending on their size. Incomplete drying is the main cause of mold in storage sachets, so it’s better to take a few extra days rather than seal them up too soon.
| Plant | Sign of maturity | Storage life |
|---|---|---|
| Tomato | Fully ripe fruit | 4 to 6 years |
| Bean | Brown and dry pod | 3 to 4 years |
| Zucchini | Hardened skin | 4 to 5 years |
| Lettuce | Open seed heads | 2 to 3 years |
| Nasturtium | Brown seed fallen | 3 to 5 years |
| Cosmos | Dry flower head | 2 to 3 years |
| Calendula | Dry curved crown | 3 years |
| Nigella | Rattling seed pod | 4 years |
Store your seeds to resow next year
Seed storage relies on three simple conditions: a dry, cool, and dark place. A drawer in an unheated room, or an airtight box placed in the bottom of a cupboard, works perfectly. Moisture remains the number one enemy, as it encourages both mold and premature germination inside the sachet itself.
Never kill
another plant.
Take a photo: the app names the species, spots the problem and tells you exactly what to do.
Paper envelopes, small cloth pouches, or simple freezer bags with a moisture absorber (just a few grains of rice will do) work perfectly fine. Remember to write the plant variety and harvest year on each container: this prevents confusion and lets you track viability over time, knowing that each species has its own lifespan as a seed.
This practice fits into a zero-waste approach and delivers real savings for both the vegetable plot and the ornamental garden, much like these easy plants to propagate after summer to fill your garden for free. It also allows you to preserve old varieties that aren’t always found in garden centers anymore, and to participate in seed exchanges with other local gardeners or community associations. Resowing your own seeds also promotes a form of garden biodiversity, since plants grown from local seeds often adapt better to the soil and climate of the land where they grew.
When it’s time to sow the following year, a simple germination test with a few seeds placed on damp cotton lets you check their viability before putting them in the ground for real. A simple step that confirms whether last year’s harvest lives up to all its promise.