Do you feel a slight draft near your window when the wind blows? Before calling a tradesperson or replacing your window frames (and before even turning on the heating, here’s a chance to do these 5 checks before winter), there’s a test that costs nothing and takes two minutes per window. You just need an ordinary sheet of paper to know if your seals are still holding up or if cold air is going to find its way into your home this winter.
Why this simple test could save you money this winter
A poorly insulated window is often invisible to the naked eye. The frame looks fine, the glass isn’t cracked, and yet cold air seeps in through the slightest gap between the sash and the frame. These micro-leaks are exactly what, much like mistakes that let moisture into your home at the first rains, drive up your energy bills each winter, sometimes more significantly than you’d expect.
The paper sheet test allows you to spot these air-tightness defects without special equipment or particular expertise. It provides a reliable insulation diagnosis in just seconds, window by window, and saves you from guessing where the problem lies before winter sets in.
The paper sheet test: how to do it step by step
What you need (spoiler: an A4 sheet)
No specialized equipment needed. A simple A4 sheet, the kind lying around near the printer, works perfectly. Some prefer a banknote for its finer texture, but regular paper works just as well for this home test.
The method in 4 steps
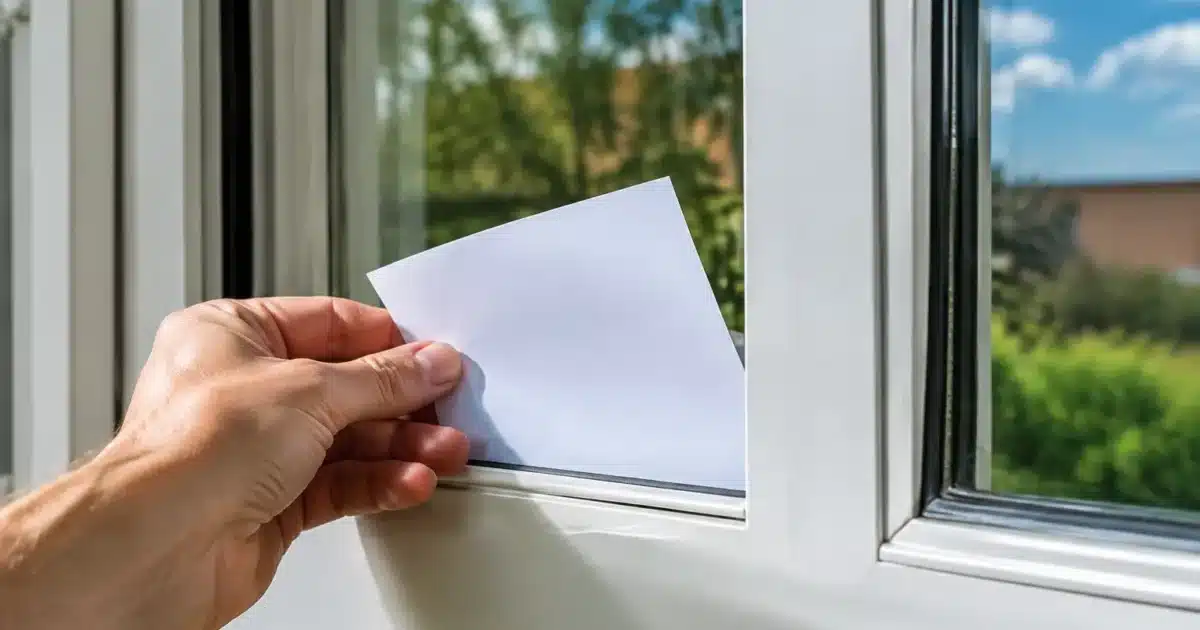
Open the window and position the paper sheet astride the frame, at the spot where the sash will close. Then close the window normally, as you would each evening. Gently pull the sheet without forcing, keeping the window closed. Repeat the operation all around the window: at the top, bottom, left, and right, because a leak can hide anywhere on the frame.
How to interpret the result
If the sheet stays stuck and resists when you pull, that’s a good sign: the window seal is exerting sufficient pressure and the seal is adequate at that particular spot. Conversely, if the sheet slides out without any resistance, it means there’s a gap between the sash and the frame, allowing cold air to get through.
An inconclusive test at just one spot on the frame doesn’t necessarily mean the entire window needs replacing. It often indicates a window seal in that location that needs tightening or replacing, or a hinge adjustment needed on PVC or aluminum windows.
Other signs that confirm poor insulation
The paper test isn’t the only way to check your windows’ condition. Running your hand along the frame in cold weather often lets you directly feel a draft, especially at the corners where seals wear first. Some also use a candle flame: held near the closed window’s edges, it will flicker noticeably as soon as air flow crosses the seal.
Never kill
another plant.
Take a photo: the app names the species, spots the problem and tells you exactly what to do.
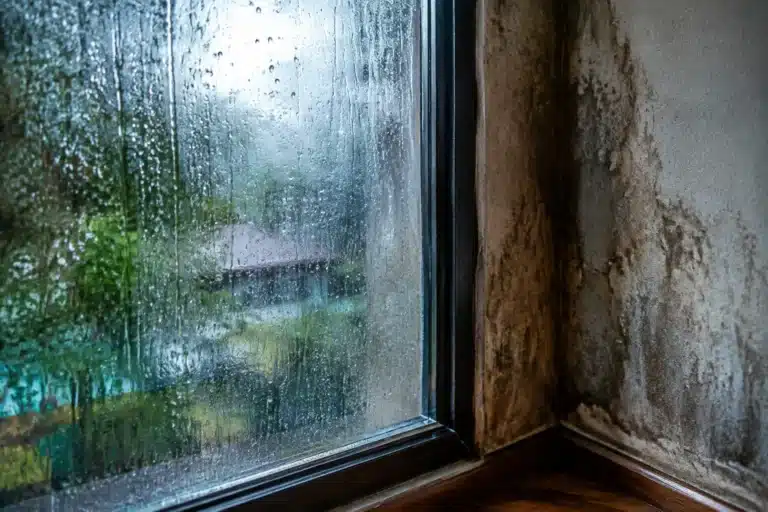
Condensation that regularly appears on the bottom of the glass or on the frame is another sign to watch for. It often indicates a seal problem or aging double glazing that’s no longer performing its insulating role correctly. A window whose frame stays cold to the touch, even far from the edges, generally confirms a diagnosis of failing insulation.
The benchmark to know before panicking
Slight friction when you pull the sheet is normal. It’s only when it slides without any tension that the window seal really needs attention. Test every window in your home, including the patio door, before winter.
What to do if your windows let air through: quick solutions
Replace or reinforce the seals
In most cases, a worn or compressed window seal explains the test result. Foam or silicone seals are easily found in hardware stores and are installed by sticking a new strip around the frame’s edge, after cleaning and drying the surface. It’s the quickest and least expensive solution to regain a good seal.
Tap to scan your plant
This feature requires the Plantalya app. Scan any plant instantly with your camera!
On PVC or aluminum windows, sometimes a simple adjustment of the hinges or closing mechanism (the head) is enough to strengthen the pressure of the sash against the frame, without replacing anything.
Install thermal film or thermal curtains
Along with seals, thermal insulating film applied directly to the glass limits heat loss, especially on single-glazed windows. Thick thermal curtains, closed when night falls, add an extra barrier against cold air without any work needed.
For doors opening to the outside, an adjustable brush or flap door sweep effectively complements your home’s overall weatherproofing. These simple gestures, combined, can significantly reduce heating bills throughout the cold season.
| Test result | Action to take |
|---|---|
| Sheet blocked, resists well | No action needed, adequate insulation |
| Sheet slides at one spot only | Replace seal locally, adjust hinge |
| Sheet slides everywhere | Replace entire window seal, check double glazing |
| Condensation plus draft | Have window professionally assessed |
Frequently asked questions about the test
Never kill
another plant.
Take a photo: the app names the species, spots the problem and tells you exactly what to do.
How often should you redo the test? Once a year, ideally before winter, is enough to anticipate seal wear and avoid nasty surprises at the first cold snap.
Does the test work on all window types? Yes, whether wood, PVC, or aluminum, the method remains the same since it checks the pressure between sash and frame, regardless of material.
Should you also test the front door? Yes, the same principle applies. A poorly weatherproofed door at the bottom lets cold air in as much as a failing window, so it’s worth checking the door sweep too.